THE HISTORY OF MOKUME GANE | Part TWO
DEVELOPMENT OF MOKUME AND LAMINATED METALS IN THE WEST

Raised Vessel by Norio Tamagawa. Copper, silver and shakudo.
THE MYTH OF JAPANESE solder bonded mokume
Armed with their newly acquired knowledge of diffusion-welded mokume gane, the Pijanowskis came back to America to continue their pioneering work in the field. This, however was not the first time the technique had been investigated by western metal scholars. As mentioned in the previous section, Roberts-Austen had made a study of Japanese metal techniques, (including mokume gane) Japanese alloys and patinas. Mention is made of mokume earlier still by Raphael Pumpelly in 1866 in the American Journal of Science. In “Notes on Japanese Alloys” he states:
“Beautiful damask work is produced by soldering together, one over the other in alternate order, thirty or forty sheets of gold, shakudo, silver, rose copper and gin shibuichi…”
Note that Pumpelly writes, “soldered” when describing the way the layers were laminated together. Roberts-Austen also assumes that the layers in mokume must have been soldered together, understandably so, there being little or no history of diffusion bonding for decorative purposes in the West. It may have been that, when these authors closely examined pieces of mokume, they mistakenly identified the thin eutectic alloy layer that forms between the two parent metals, as a layer of solder. Nonetheless, Roberts-Austen reports, this did not stop Mr. Alfred Gilbert A.R.A., from “employing it in the exquisite repoussé metal work which he alone can produce.” Apparently, among other items, Gilbert used the technique to produce the central link of the “Chain of Offices” for the Mayor of Preston, Lancashire in 1888. Robert Von Neumann in his modern book, The Design and Creation of Jewelry, also speaks in terms of Japanese solder-bonded mokume. Incidentally, it was this 1961 book which first informed and inspired many Western jewelers, including the Pijanowskis.
There is no evidence that the joining of layers in Japanese mokume has ever been achieved with the aid of solder. However, there are indications that some copper alloys may have been bonded together by the use of an extremely thin layer of silver. Upon firing, this layer would form a copper/silver eutectic which would liquefy and consequently bond the layers together. Maintaining the firing temperature beyond this point would diffuse the silver away from the bond interface and allow it to essentially disappear. The same technique, known as Transient Liquid Phase Bonding, is used by industry today for the joining of heat-resistant alloys like nickel and cobalt-based superalloys.

Brooch by Hiroko Sato Pijanowski and Eugene Pijanowski. 14K yellow, red, and white gold with black jade.
The only historical bonding technique developed independently in the West, which is similar to mokume gane, is known as Sheffield Plate. The technique was discovered in 1743 by cutler Thomas Boulsover. Whether by “accident or intelligent search,” scholars cannot say, but it is certain that his discovery was put to profitable use.
Sheffield plate was made in large quantities for over a century by binding sheets of silver to 1 1/2 inch-thick ingot of copper, bronze or nickel-silver and then fusing it in a coke furnace. The ingot was carefully watched until it began to “weep,” (an indication that a liquid eutectic of the copper and silver had formed) and bonding was complete. It was then beaten, or in later days rolled, into sheet, to be used for everything from candlestick holders to teapots. While the joining of the metals in Sheffield Plate is very similar to mokume, it is important to note that this was done for the sole aim of economizing on the use of silver. Great pains were taken in the manufacturing and design of Sheffield Plate articles to make sure the inner copper core was not visible in the finished piece. In contrast, mokume gane was specifically used to fully exploit the visual patterning made possible by the use of a multi-metal laminate.
Now back to the 1970s! After the Pijanowskis returned from Japan they continued their exploration of the traditional technique. They shared this information freely through many articles in trade magazines, as well as presented workshops on the process in the United States, Europe and Australia. They directed research with their own students at the University of Michigan, and also with students in the graduate program of Southern Illinois University at Carbondale. These students, under the tutelage of professors Brent Kington and Richard Mawdsley, conducted research on all aspects of the making of diffusion-bonded mokume.
Extensive experiments with Japanese alloys, firing and patterning techniques were among their most notable contributions. Probably the single most important advancement to come out of this work, credited to Marvin Jensen, was the development of bolted torque-plates that replaced the binding wire that had been used up until that time. As the dissemination of information continued, exploration into the technique and the science of mokume advanced. In the 1980s, Steven Kretchmer and Eugene Pijanowski began laminating colored golds, and by doing so opened a whole new arena for the application of mokume.
Much work has continued from there, with new metal combinations, greater understanding of metallurgy, and technological advancements in the manufacture of mokume such as digital atmospherically controlled kilns. All these things, and more, combine to make now, the 21st century, the most exciting time in history to be making mokume.

MOKUME FROM SPACE
Probably the most intriguing story I turned up in my research for this book, has to do with the piece of metal shown here. The photos were sent to me courtesy of the International UFO Museum and Research Center (IUFOMRC), located in Roswell, New Mexico. Max Littell of IUFOMRC writes:
“The only thing we know, is that it was allegedly picked up at the (Roswell) crash site and it was framed and given to us… we let a little snippet be sent to Los Alamos (and) received the initial report a few days later.”
The report and photos revealed the metal (only 15 thousandths of an inch thick) was comprised of 19 layers of alternating silver and copper. Apparently this was proof enough of alien origin for IUFOMRC, and the “artifact” was moved by armored car and put under lock and key in the Roswell police department.
Then, in 1996, a reporter from the Albuquerque Journal wrote a story crediting the origin of the piece to Utah metalsmith Randy Fullbright. I later spoke to Randy by phone and asked him about it.
“A friend and I were hanging out in my studio one night, when just for fun I took a piece of mokume and folded it up and ran it through my rolling mill … I gave it to my friend and he gave it to someone else and eventually it turned up in Roswell as a piece of a spaceship.”
When asked what he thought of his most notorious piece of work being credited to alien origin, Randy replied:

An edge view of the piece at 200 X. Los Alamos National Laboratories.
“It scared the hell out of me. As soon as word got out, I had every weirdo on the planet calling me. A film crew from Japan even flew over to interview me … It was pretty goofy.”
Later I talked to Mr. Littell and asked him about the claim of the mokume being made by human hands. His response:
“We don’t use that term, that metal is used to make jewelry, not ours, with 19 layers … I don’t care what anyone says, this is not just plain vanilla!”
The piece remains on display at the museum.
NEW LAYERS — WHAT WE’VE LEARNED SINCE
I had the good fortune of catching up with David Huang and David Barnhill at the Society of North American Goldsmiths (SNAG) Conference this year (2019) in Chicago and asked if they would write something for one of our New Layers book posts. I had met and corresponded with David Barnhill (davidabarnhill.com) while he was in grad school. He unknowingly gave me one of the most memorable compliments of my life when writing an article about my work for an Edinboro University art publication. In it, he had compared me in my workshop to Willy Wonka in his chocolate factory. I remember when, rather tentatively, he told me what he had written, but since I was a huge Roald Dahl fan, I couldn’t have been happier.
I did not meet David Huang until I gave a presentation at the 2012 SNAG conference in Phoenix. I was blown away by his work and technical mastery and I have literally spent hours on his website (davidhuang.org) salivating over his imaginative and transcendent pieces. Together, these two amazing metalsmiths have applied their talents to the ancient art of mokume gane. I think you will agree that their finished works look completely at home next to the finest mokume pieces ever made. I am very pleased to present their thoughts and work here for the benefit of everyone with an interest in the art of Mokume Gane.
— Steve
David Barnhill and David Huang, An Artistic Collaboration

Layered Resplendence #41, by David Huang & David Barnhill, 2017. Copper 101, copper 110, brass 260, and sterling silver mokume gane, finished with a rim of fine silver, and 23-karat gold leaf; approximately 5.25 x 5 x 5 inches.
Insights from David Barnhill

The best advice that I can give people for fusing strong mokume breaks down into two basics: 1) Keep notes, 2) clean the metal of oxides and other contaminants. Below is a picture of a triangle worth studying for good fusing practices. Inside the triangle it says “CLEAN.” Above all else, the metal needs to be clean and free of deep scrapes (the more perfectly flat and unmarred the surface is, cleaning and fusing will be easier and more successful). The problem with small cracks or scrapes is that oxides and other contaminants hide in these areas and during bonding creep out through capillary action into the interface to inhibit bonding.
The remaining three items “Heat, Pressure and Time” can be thought of as sliding differentials that aid in good bonds. The more of one of the three that you have, the less of the other two you need. For example, more pressure equals less time and heat needed for bonding; taken to the extreme, multiple metal sheets can be Cold Roll Bonded (CRB) thru high rolling-pressure alone.
The other factor for good bonding is note-taking. By studying what has worked you can start to understand what factors aided in your success. By comparing your notes from one billet to the next, you get a better understanding of exactly what you did. When billets fail you also have a better understanding of why they failed. Times, temperatures, total billet weight, individual metal weight, layer count, and metals that comprise the billet should all be noted. The more that you know about what you are putting into the forge or kiln, the better you will become at fusing.

David Barnhill working on the Nazel 2B power hammer. This billet is 3x3x3 inches and 72 layers. Forging on the 2B is about to start.
As for which metals I prefer … in all honesty, I like them all. Much of what I fuse depends upon color and working characteristics. I have been experimenting with some new forms of producing mokume by some processes that have been quite difficult. By studying my notes, I am slowly working through the problem-solving of these new methods. One of the best tools that I can recommend is the information in books. Through reading I have gained a better understanding of things like phase diagrams, phase dynamics, grain boundaries, diffusion and the overall working characteristics of elements and alloys. I have found books to be a better resource than forums on the internet or internet searches because the information seems to be more stable/confirmed.
Furthermore, research on paper is one thing; the real understanding comes from attempting to test what you have learned in physical models. Most mokume is made for one application or another and most metal combinations perform very well under high stress — granted they were fused/annealed properly to begin with.
Historically, Shoami Denbei (1651–1723) is credited to be the first to fuse guribori and mokume gane. A kozuka — signed by Shoami Denbei and in a private collection — with woodgrain pattern of gold, silver, shakudo, and copper. Traditionally, mokume was fused in a small cage within a coke-forge by liquid phase diffusion bonding. The mokume billet was then removed from the forge at near fusing temperature and hammered down into a sheet to be repurposed to its final form. Hammering would condense the grain-structure within the metal and produce very strong laminates. Primarily the early Japanese craftsman used the metals: shakudo, shibuichi, copper, kurimido, silver and gold. These metals are easy to bond, very malleable, and produce a wide color-range with Rokusho.
As for feelings on my own connections of the past to present through my mokume, my connection is complicated. I don’t always feel connected to the past through process (e.g., solid state fusing opposed to liquid phase), but I do feel a connection to the past when I am patterning and creating my art/collaborations in mokume; especially when I am attempting to problem-solve a difficult solution and I ponder how the early Japanese metalsmiths problem-solved so many of their own trials and tribulations. Many of my problems can be solved with bigger tools or machines — but how the early Japanese smiths solve issues boils down to time and the desire to create “perfection.” I find it fascinating to study metalsmithing in its many complexities, especially Japanese works from the Edo and Meiji periods in Japan.

A sheet that has been patterned and hammered out to 14ga, 13 inches diameter for raising.
When I first started studying mokume 20 years ago I often felt that I was all alone. The internet did not contain many mokume references, libraries were extremely limited, and searching for data seemed near impossible. When I first took on mokume as a research project in 1999, I knew two things: mokume was fused, and it was a difficult process. I knew nothing else. I had no connection to the past. I felt that I was on my own to figure it out. These feelings have since changed, but in the early days I wasn’t taught by someone who had been taught by someone else. There wasn't a connection to others until much later.
Presently, I often feel like I'm still out in the outfield, still working largely solo, and still attempting things with metal and mokume that I am unsure will work. Or, work to the direction that I hope to use them. There are many people who fuse and fuse again reliable combos with known results, but there are very few who seem to be forging their own paths. I have been very fortunate to find other artists to work with that when I explain my goals and want to collaborate. My Layered Resplendence Series and collaboration with David Huang was born from these ideas: what is possible (not sure), will it be a complete time-waster (not sure), and will anyone ever appreciate what we are trying to accomplish (also, not sure). In a way I’ve felt like an astronaut about to crack the seal. What will happen? Only one way to find out. We are still here and so far have been able to produce some exciting pieces together. It has been a joy.
— David Barnhill
Insights from David Huang
One of the more fascinating aspects of raising mokume gane for me has been getting to see how the metal really moves around in the process. When raising a sheet of a solid metal, be it copper, silver, gold, etc., I could never really see what was happening. Once in college I took some old, deeply etched copper printmaking plates I was done printing and thought, “wouldn’t it be cool to raise these and see how the etching alters with the movement of the metal!” So I went and did that. The result being that all those deeply etched lines were completely obliterated within a few courses of raising. I suppose in one way that really showed me how much the metal was moving around — but it didn’t reveal what I wanted to see.

David Huang chasing a huge copper vessel in his studio.
With the sheets of patterned mokume gane David Barnhill makes for our collaborative efforts it’s a different matter. Because the pattern is not just on the surface, rather it fully is the metal, I am able to see how things shift about while raising. I’m able to show this to clients as well to help educate them in the amazing working properties of metal. For example, on a bullseye patterned sheet, the bullseyes will generally be pretty much round near the central base of the disk/vessel. As they get closer to the rim/edge section you will see more and more elongation of these. The raising of the mokume clearly shows that the part of a disk which gets moved and stressed the most is the outer edge. Since the outer edge is also generally the weakest area, most prone to cracking and delamination in the making of mokume gane, it makes David Barnhill’s work all the more amazing. I really do seriously stress his metal bonds!
With annealing I’ve learned to pay attention to what metals are in the mix. For example, if the combinations include brass and bronze I have to make sure to let the pieces air cool after annealing so I don’t end up hardening those metals with a quick quench.
There was one instance where David got me what was at the time a large disk of fine-silver and nickel mokume gane. It was a beautiful disk! I started raising it and during the annealing process took great care not to overheat it. I figured I should treat it as I normally would fine-silver. It seems like silver has a relatively short window between when it starts to turn red from heat to when it is a molten puddle. I didn't want any puddles! This piece fought me so hard in the raising. It just didn't want to compress in as the sides rose up. I wrote this off as simply the obstinate nature of nickel. Eventually a crack formed up at the edge. I kept soldering it up each annealing, trying to hold it together. The crack kept growing. Cringing and with many mental apologies to David B. I eventually felt I had to trim off about half an inch all the way around to eliminate the crack which was forming a weak point that then wanted to run even further in. Knowing how hard he worked to get the sheet that big, trimming it down felt like a crime. Still I couldn’t get the edge to raise up and turn inward to create that form which feels right to me. I had to step back and see the piece with fresh eyes to realize it was a good form, even if it wasn’t one of my forms that always turned inward. At that point, I simply called the raising done and stopped. It’s only in hindsight that I realized my error the whole way along. I was annealing to the fine silver, but the nickel absolutely required a much higher temperature to anneal. So the whole time I wasn’t really softening the nickel, mostly just making it more and more work-hardened. No wonder it didn’t want to raise and compress in. No wonder as well that it was cracking along the edge where I was stressing and work-hardening it the most.

Layered Resplendence #23, by David Huang & David Barnhill, 2017. Silver, nickel and 23K gold leaf.
In later pieces I found the silver/nickel combination works fine as long as I make sure to anneal to the higher temperature the nickel needs. In that case the silver seems to hold up fine. So what happened with that piece I couldn’t get “my” form on? In support of the notion that it was still a good form, a photo of it ended up being used on the promotional card for a major mokume gane show in Japan! It also did find a home with a collector.
The chasing of mokume gane has been one of the major artistic challenges of my ongoing collaboration with David Barnhill. The patterning of the metal is his major outlet for artistry. Once he gets the patterned disk to me I like to be able to sit and contemplate the piece for a while, trying to envision where it could go in my hands.
The first problem to solve is always what general form the vessel is going to take, though in all honestly there is a lot of leeway there. It’s the chasing design that is the real challenge. Generally I find mokume patterns with larger, dynamic shapes need much more minimal chasing designs to find a happy complement. Sometimes I work with a visual directional flow of the mokume pattern. Other times it seems best to work in counterpoint to the flow David created. In order for me to get more detailed with my chasing work I’ve found we either have to be doing disks that are selectively patterned from the start, deliberately leaving areas a solid metal without pattern, or if the mokume pattern is finely detailed and generally uniform it can transform into more of a visual background texture to a more complicated chased design.
Another approach we’ve taken in recent years is on what we've been calling our “UFO” pieces. With these the mokume gane is being treated more like a precious stone, set into a heavily chased piece as a feature design-element. It’s always a judgement call, and the nature of the beast is that they are always one-of-a-kind pieces, so past experience isn’t a sure guide to the current piece. The risk constantly remains to make a poor choice and diminish or spoil the piece. Yet the opportunity for truly spectacular works is always there as well when we get it right and both our efforts mesh beautifully.
— David Huang
More work from David Huang and David Barnhill:


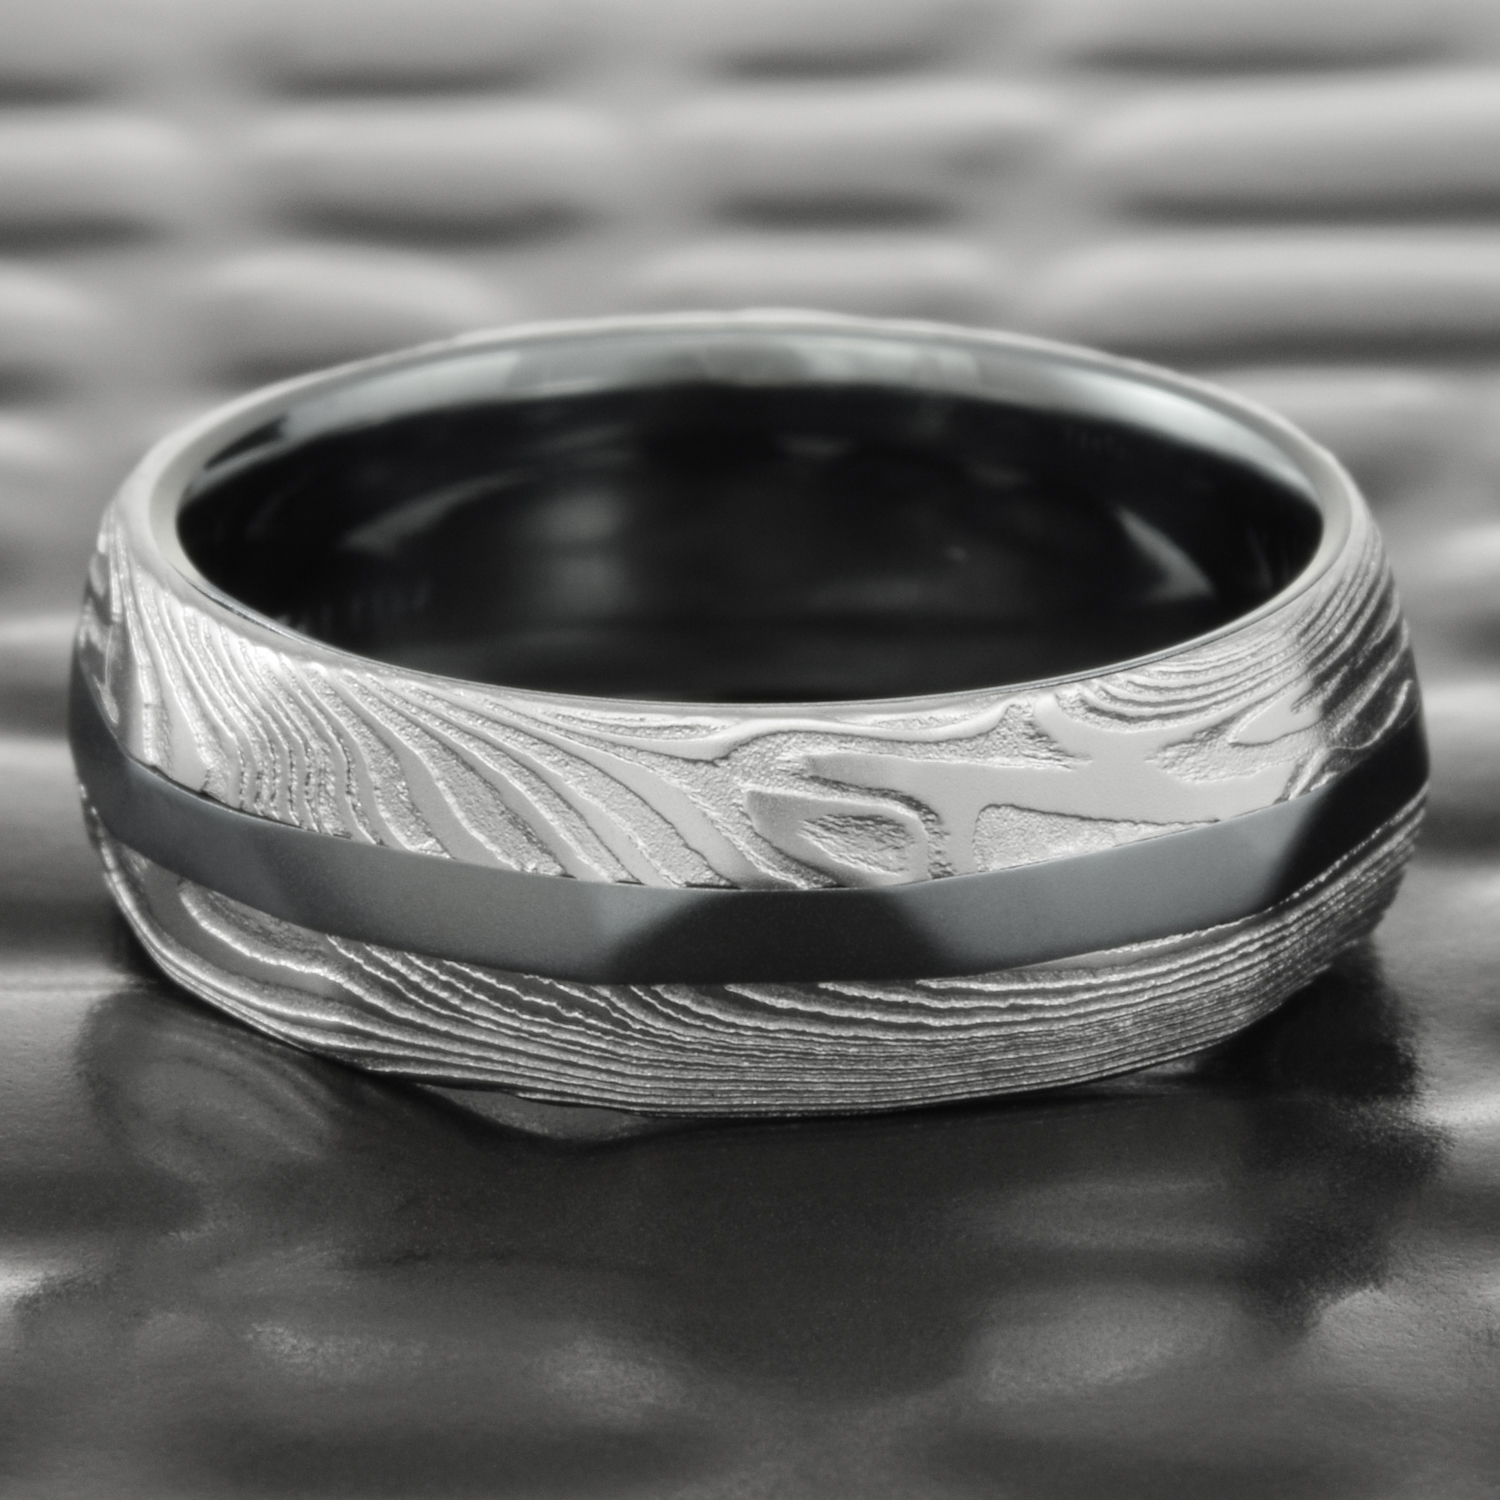
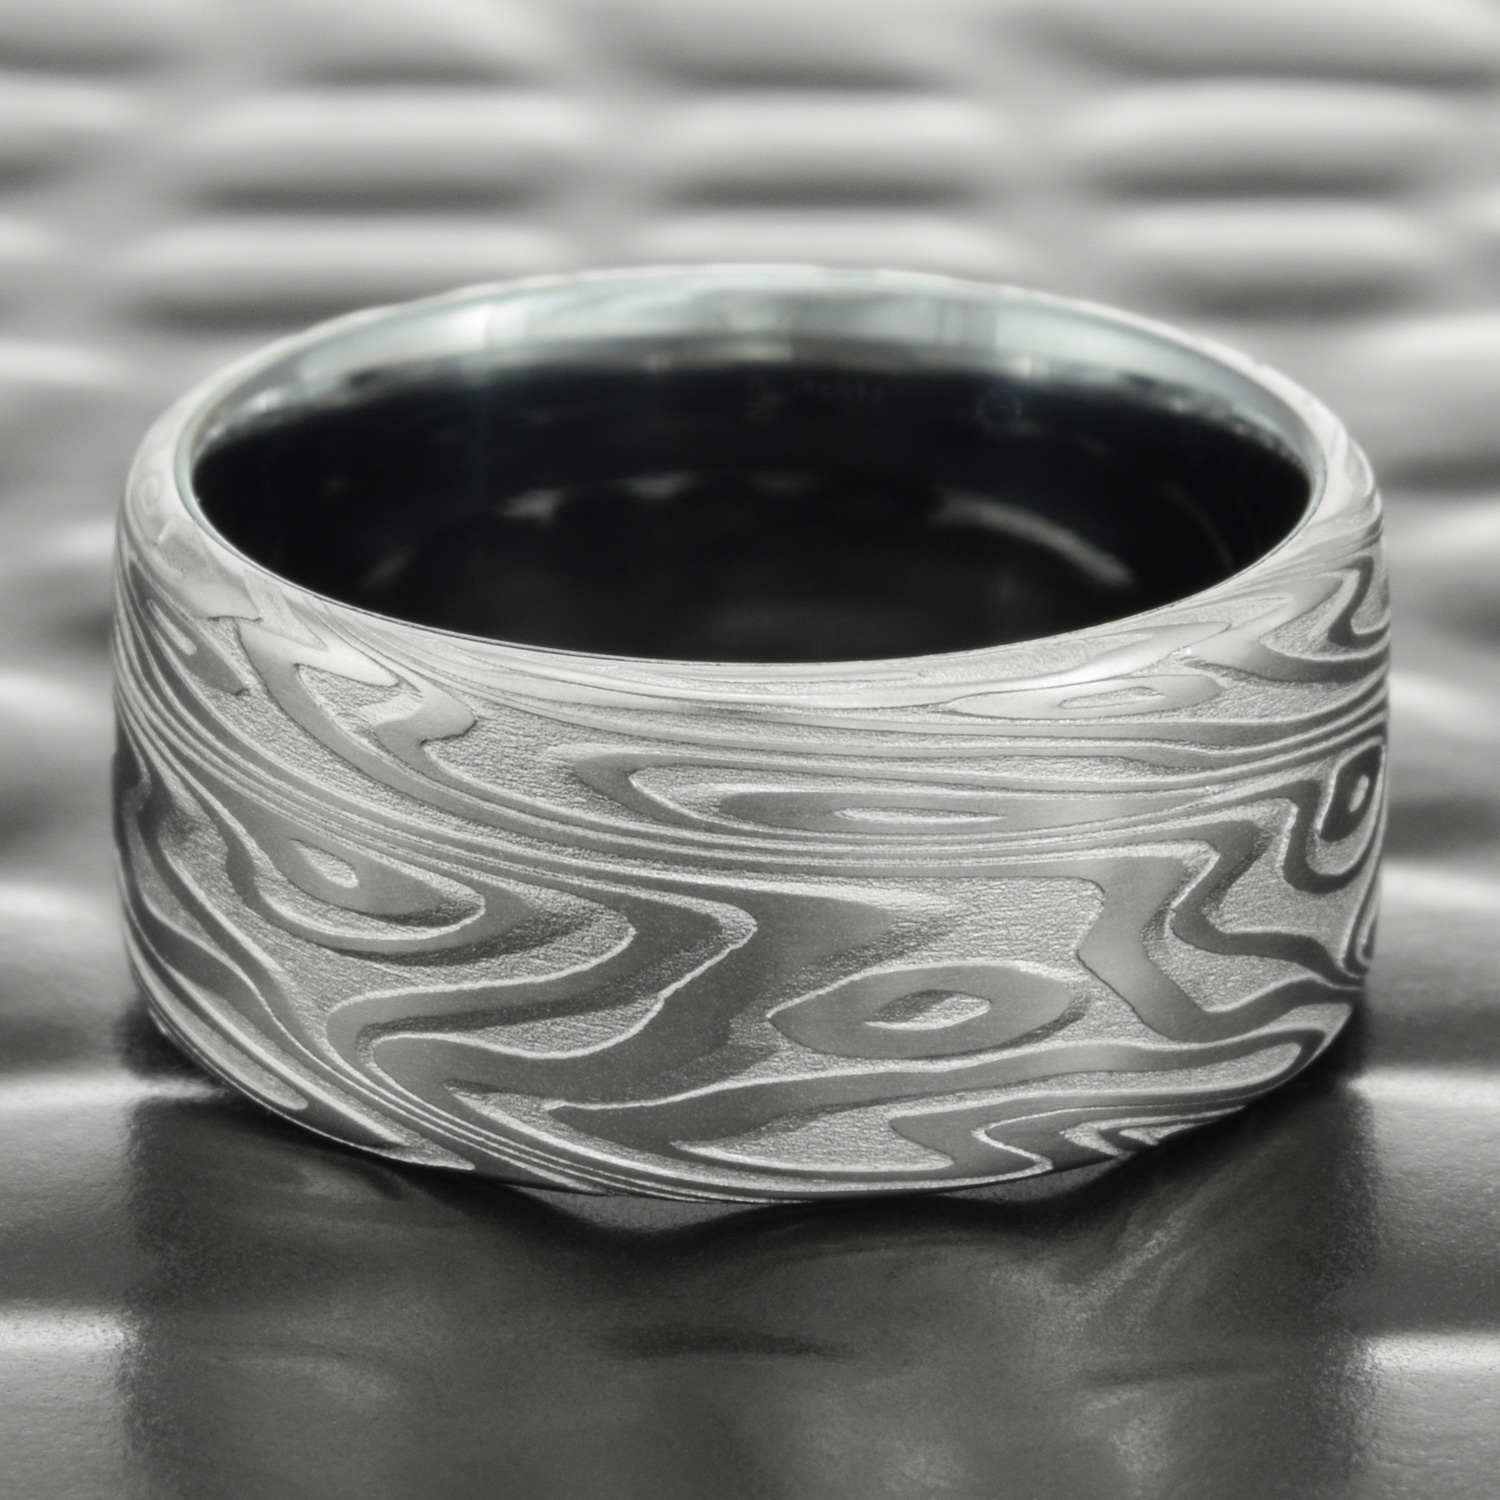
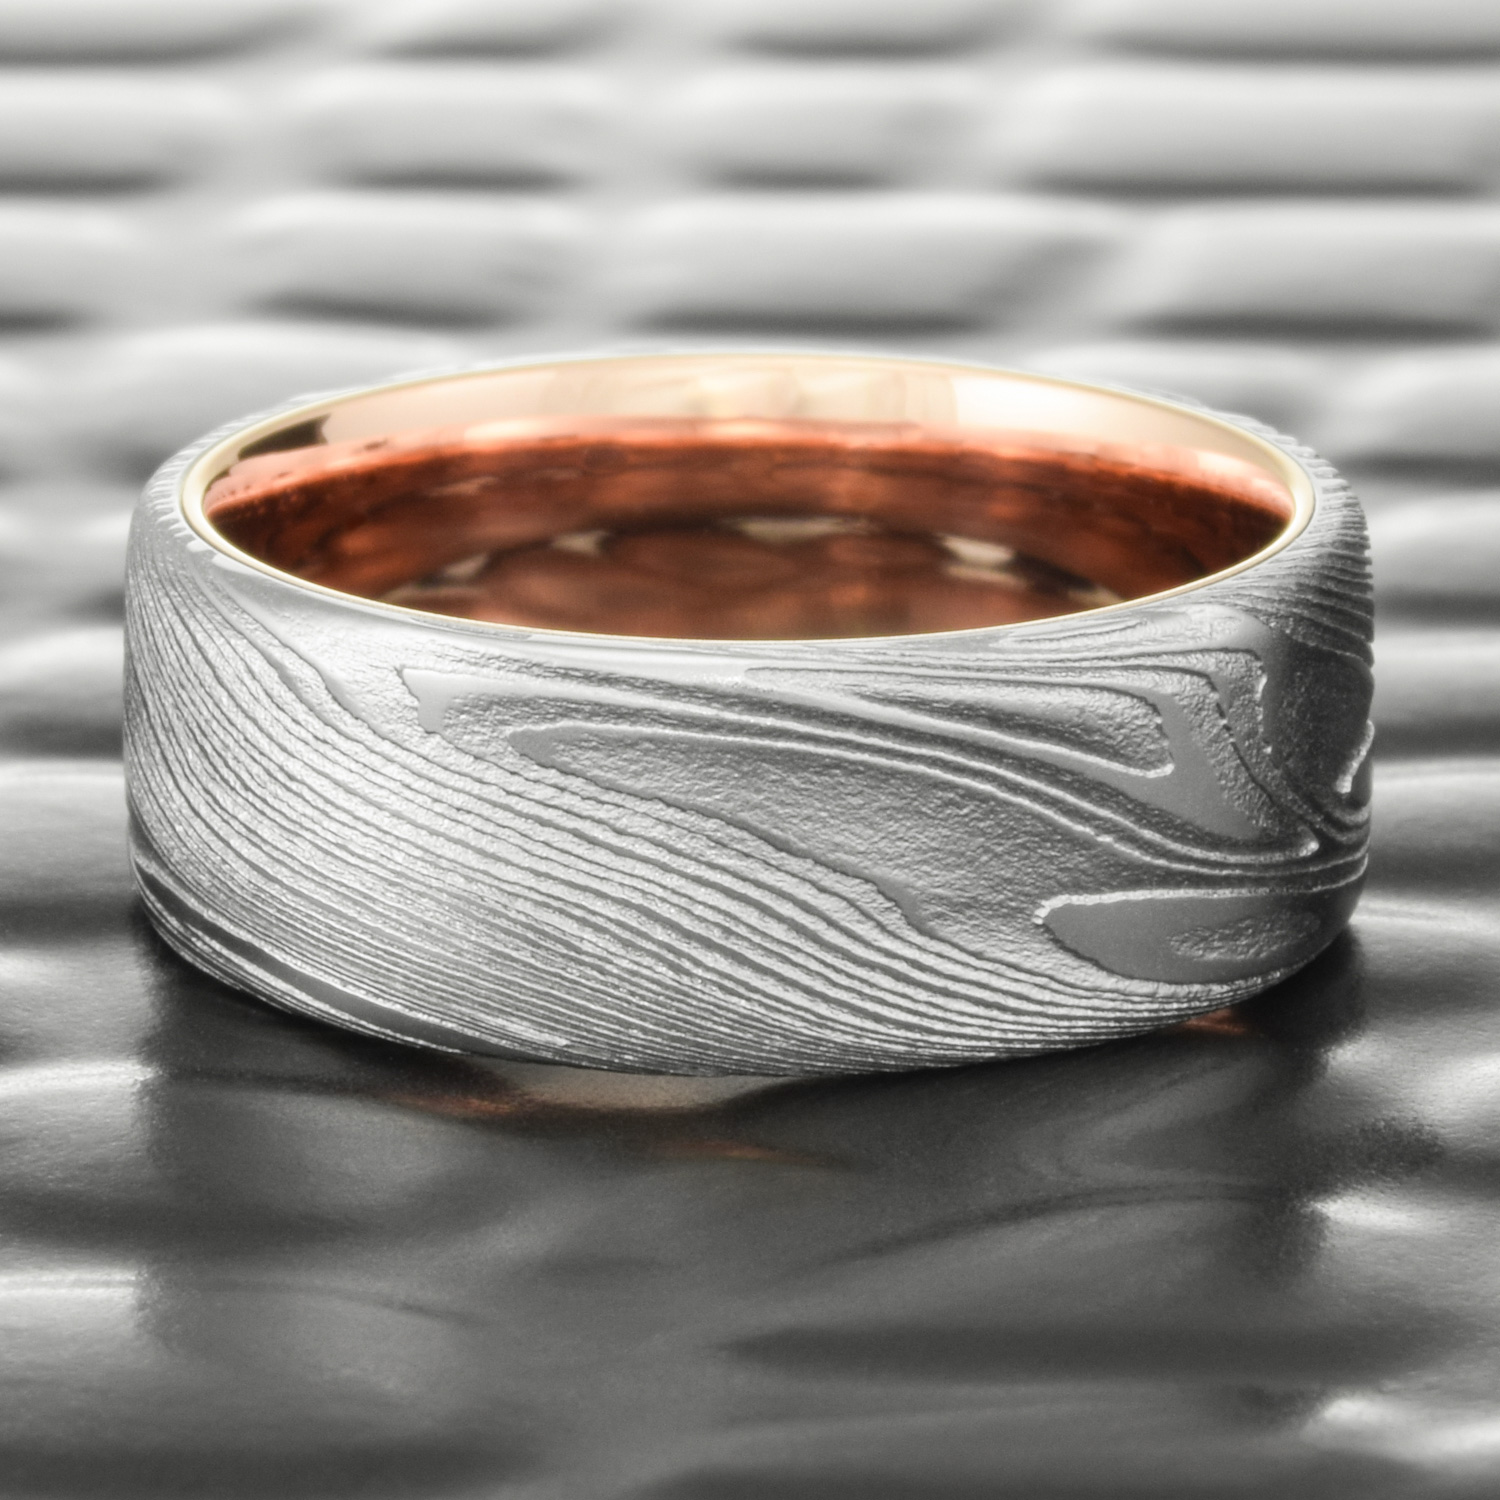
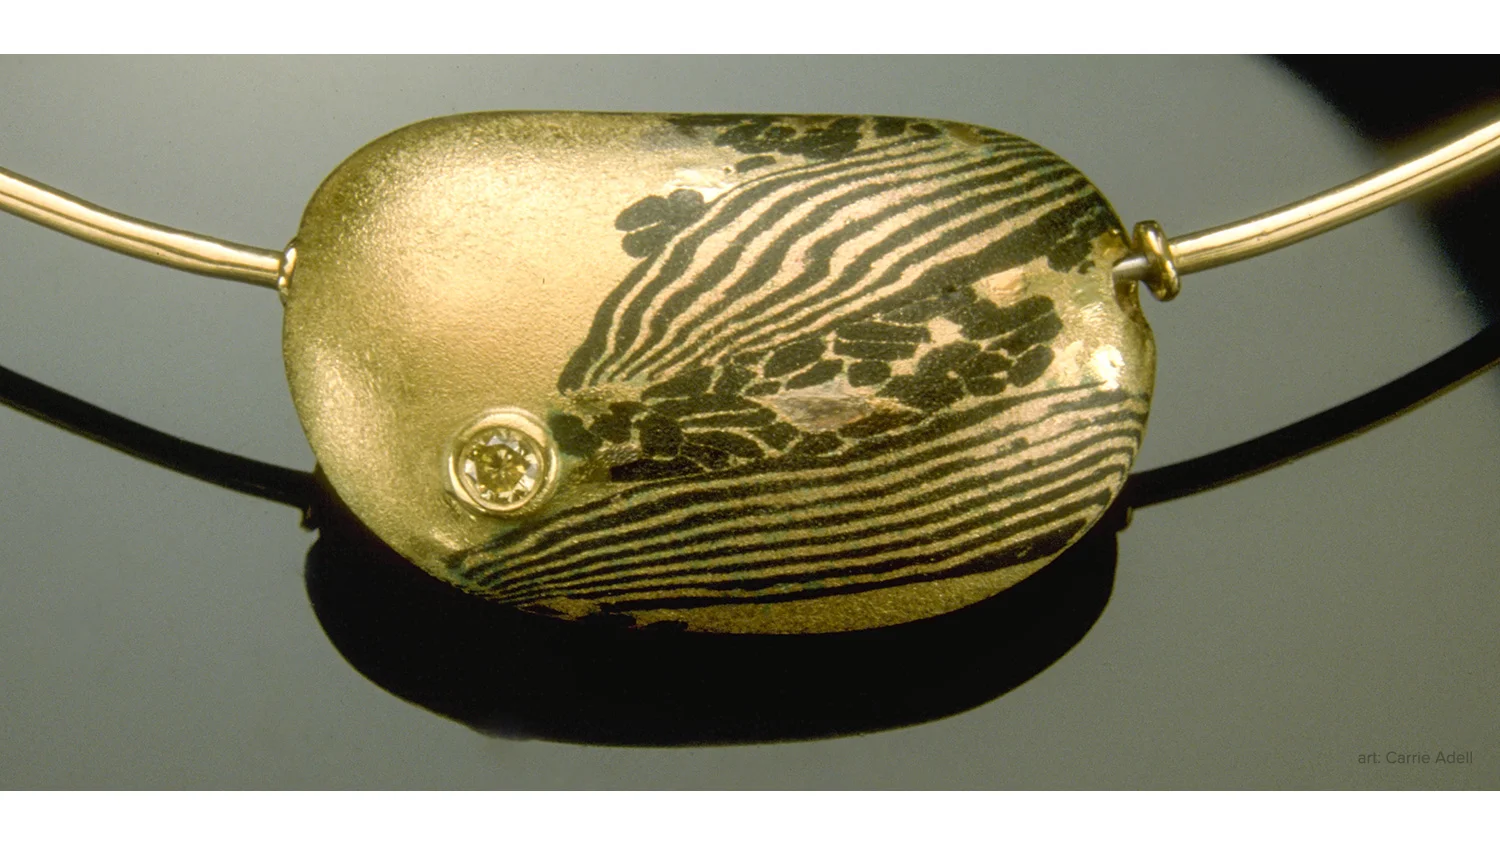
From the Book’s Gallery


©2000-2019 STEVEN JACOB INC. All rights reserved. Copyrighted materials – no portion to be reproduced without written permission from STEVEN JACOB INC.