Project 1: Mokume Accent Ring
a simple cast ring accented with a piece of mokume stock

Mokume Accent Ring: l4K yellow gold with a palladium, white gold and shakudo mokume accent.
Photo 1. Begin by carving the ring design out of wax. The ring pictured here is a square band about 8 mm wide. Be sure to leave the cutout where the inlay is to go slightly narrower than your planned inlay. Later you can fine-tune the fit, once it is cast in metal.
Photo 2. Sprue up the wax, making sure that you attach the sprue to the thickest part of your wax model. The sprue itself should be thicker than the model. Where it joins the model, it should be thinned, so as to encourage shrinkage in the larger sprue, not in the model or where the sprue joins it.
Photo 3. Invest, burn out, and reduce the flask temperature in preparation for casting. Pre-heat and flux your casting crucible, add the metal with a little flux, and keep your torch flame covering it at all times. Remove the flask from the burn-out kiln, place it in the casting machine, and cast as soon as the metal flows freely.


Photo 4. Remove the sprue and clamp securely in a bench vise. Trim up the opening where you will inlay the mokume with a sharp flat file. Make sure the sides are parallel, and cut as flat and true as possible. This step may also be accomplished with a flex shaft and the flat side of a separating disc, but go carefully and be sure to wear eye protection.
Photo 5. The accent piece itself is carefully cut and fitted to the opening in the band. In this case it is a piece of unpatterned mokume about 30% thicker than the band. It is slightly curved and set at an angle so as to expose its internal layers when finished. Keep filing and making minor adjustments until this piece fits perfectly into the space prepared for it.
Photo 6. Use the spring tension of the band to hold the accent piece in place. Then flux thoroughly, and solder with hard solder. Make sure that the solder fills the seams completely, but take care not to overheat the piece, as that could cause certain metals in the solder to boil and create pits in the solder joints.


Photo 7. File the band to its finished form. Then check for any pits or gaps in the solder joints. You must re-solder any gaps, but small pits can often be burnished to fill them.
Photo 8. Sand the ring, beginning with 220 grit sandpaper and finishing it off with 400. Be sure to watch out for the differing hardness between the ring and the mokume accent. If one is considerably softer, it can sand away quicker than the other, and destroy the smooth contour of the ring.
Photo 9. Polish completely and carefully. Again, be sure not to allow one section of the ring to wear away unevenly.

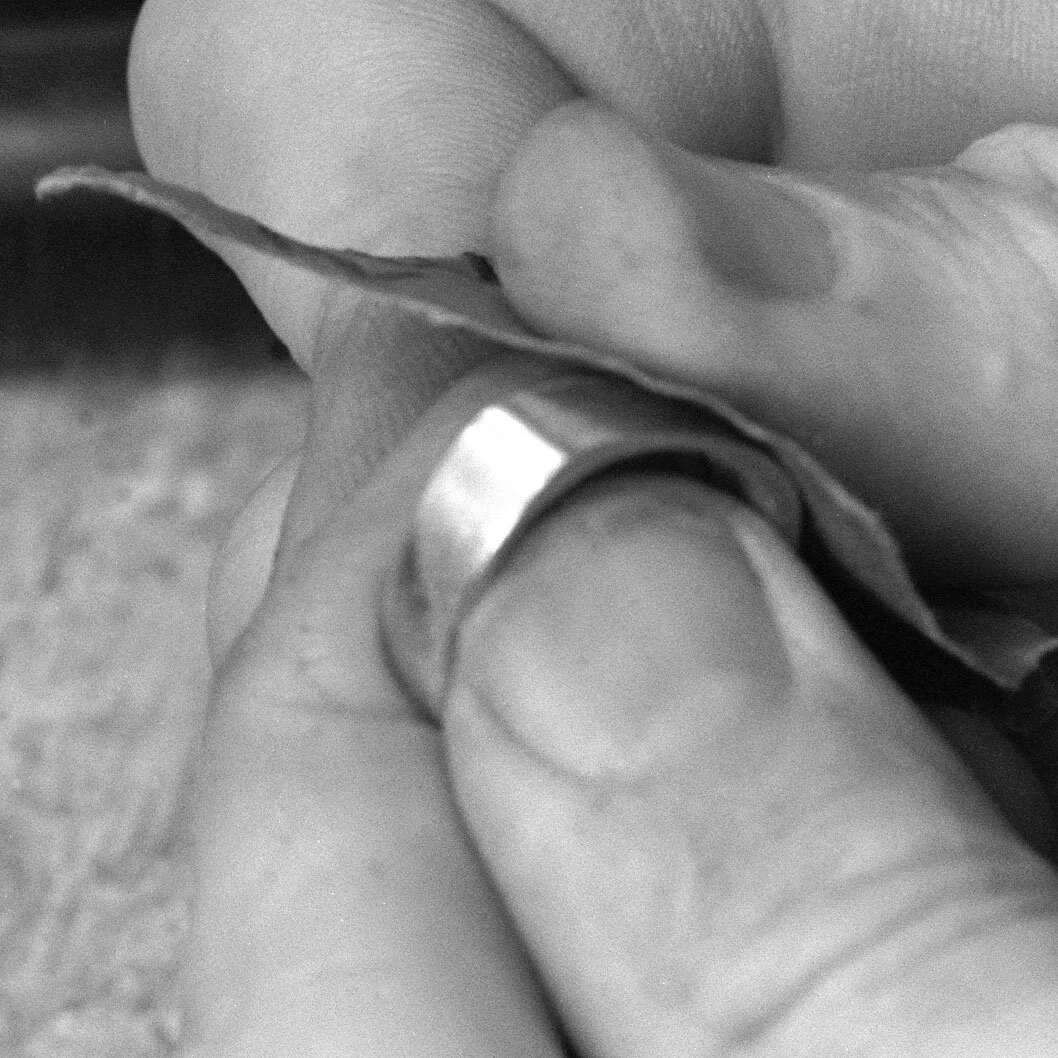

Photo 10. Lightly acid-etch the ring in a small amount of uncontaminated nitric acid diluted with water to about 50%. This should be done quickly and then washed and rinsed completely.
Photo 11. The finished Mokume Accent Ring has been soaked for a few minutes in a warm solution of household ammonia and table salt to darken the shakudo in the design. It was then cleaned and polished lightly with a rouge cloth. This ring is l4K yellow gold with a palladium, white gold and shakudo mokume accent.


©2000-2020 STEVEN JACOB INC. All rights reserved. Copyrighted materials – no portion to be reproduced without written permission from STEVEN JACOB INC.