Preparing the Billet
How to prepare a Mokume Gane Billet
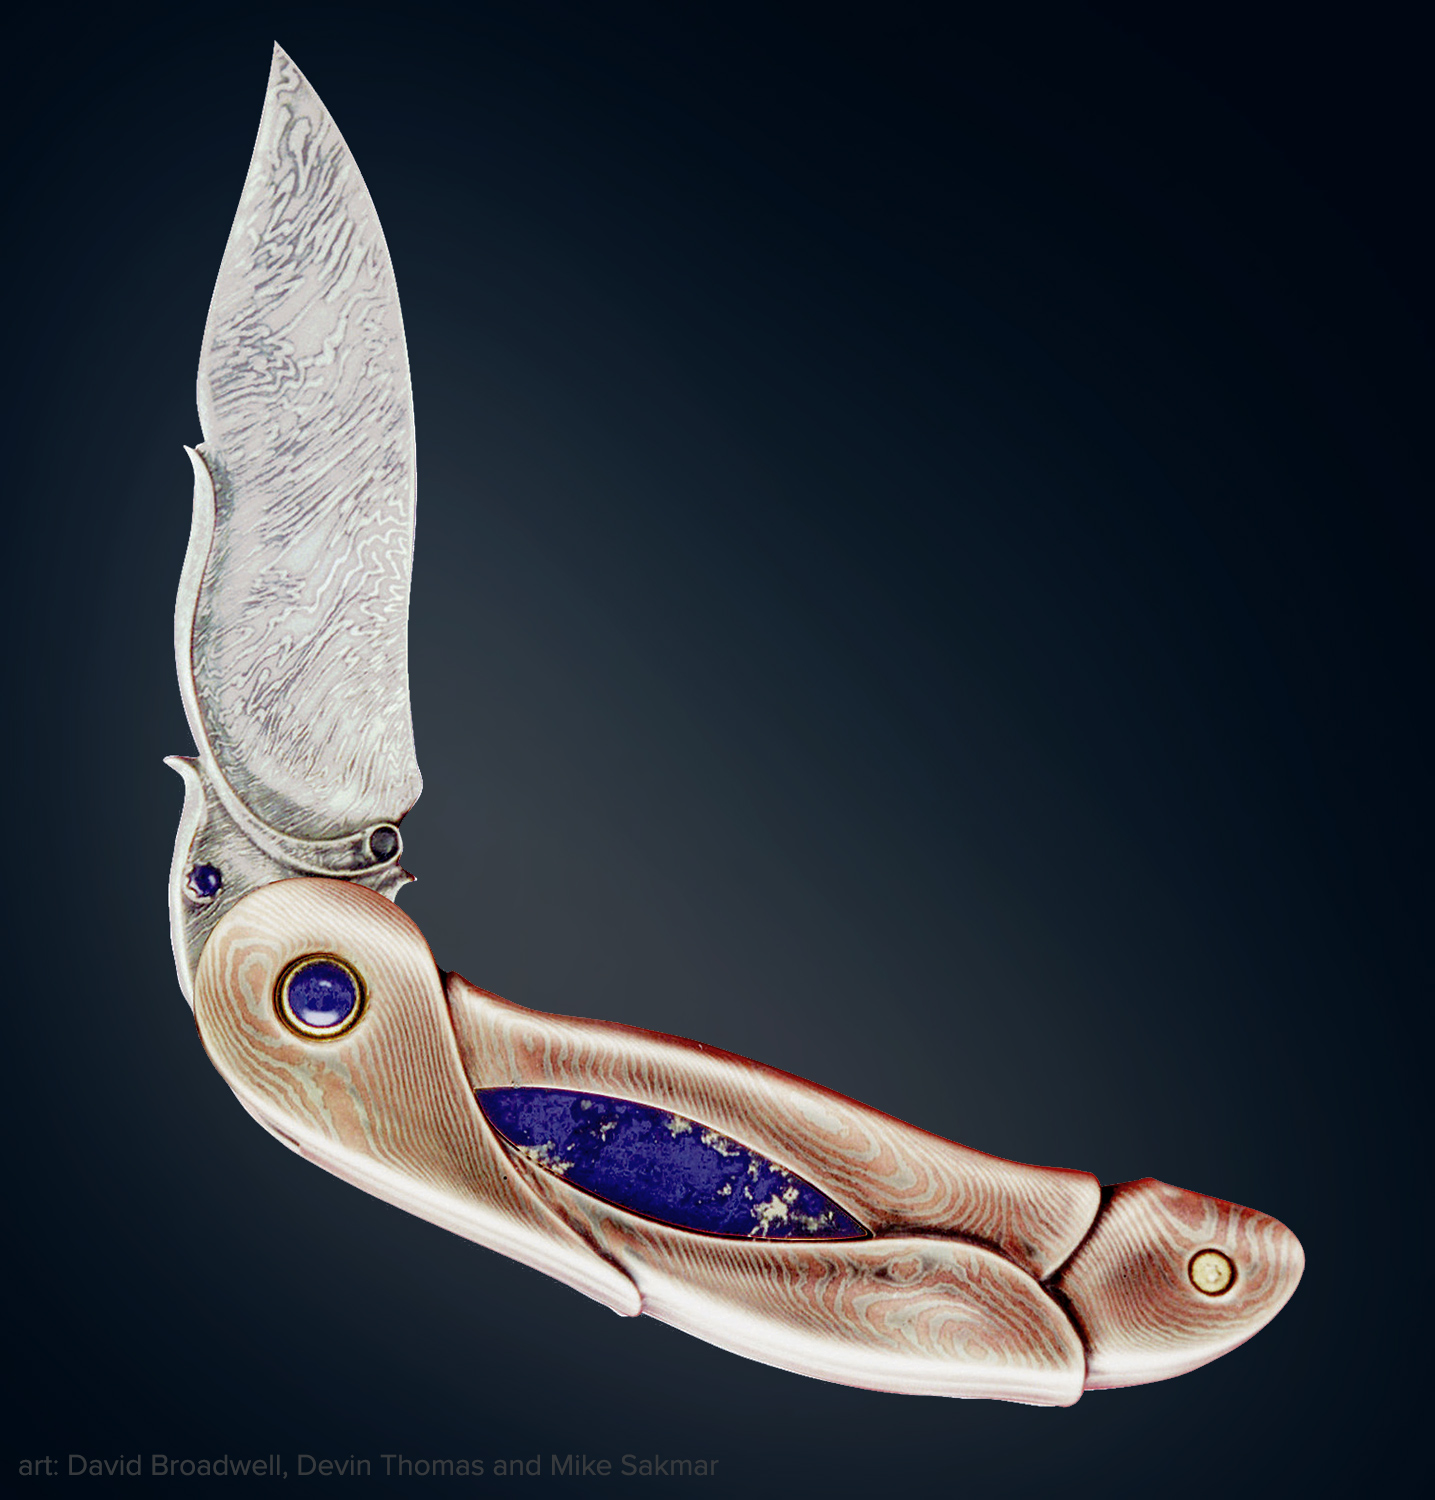
Folding knife by David Broadwell. Pattern welded steel by Devin Thomas, lapis lazuli with copper and nickel silver mokume gane by Mike Sakmar. Photo: Sue Broadwell.
“The secret to solid mokume game is cleanliness and quality materials.”
Essential Steps for a successful Mokume billet
“Snake Bracelet” by Steve Midgett. Sterling, copper, shakudo and 14K with rubies.
No matter what firing method you use to laminate mokume, the first step in preparing a billet is to decide on the number of layers in the stack. I suggest using no more than 25 layers for jewelry applications. If you use more than this, they tend to become too fine in the finished sheet and reduce its visual impact. I generally use 12 to 18 layers. If you are creating mokume for larger metalsmithing projects or knife-making, you could triple this number.
When planning the layers in your billet, keep in mind the final pattern you wish to achieve. In most cases, contrast between the metal colors and their compatibility are of primary consideration. Next in importance is usually the thickness of the bands of color throughout the mokume sheet. For example, a thin sheet of gold, sandwiched between two thicker layers of shakudo, will finish out as a thin swirling pinstripe of gold on a field of black. I suggest starting with thicknesses between 16- and 24-gauge. And remember, the thinner the sheet, the thicker any eutectic layer will appear proportionally. You also have to consider the thickness of the billet after firing and what your rolling mill will accommodate. The most efficient billet thickness would be the maximum thickness your rolling mill can handle, plus the amount of the reduction caused by firing and forging.
Lastly, you can often save a little time and money by putting an extra heavy sheet of metal on the bottom layer of the billet. This will not be exposed in the patterning process and can be up to 1/3 the total thickness of the billet. Make sure the hardness of this piece of metal is similar to the others in the stack, or the finished sheet will curl when rolling.
All of the pieces in a billet should be cut from good-quality clean metal. If you’re using copper or even silver alloys that have been sitting around for a while, give them an initial cleaning to remove surface oxidation before cutting. This will save you a lot of time later on when you’re cleaning prior to firing. You should take great care to cut all pieces in the stack the same size. Remember that, after firing, the whole billet will have to be trimmed down to the size of the smallest piece in the stack and the rest will be wasted. This is less important when using inexpensive copper alloys, but even then, it is much easier to observe the sweating of the layers in a neatly cut and stacked billet.
It is absolutely imperative that each individual piece is of an even thickness throughout, with no tapering from center to edge and that the billet layers are as flat as possible. There are a couple of things that make this difficult to achieve. The first is the method of cutting the metal. If you are using hand shears, or a bench shear, to cut the pieces, you almost certainly will be creating a little burr on the edge of the sheet that forms when metal is cut in this manner. This burr, small as it is, will create gaps around the edges of the billet when you stack the layers together and you can’t rely on the pressure of the clamp to flatten them out. The metal along the edge will become contaminated during firing because of these tiny gaps and will have to be trimmed away. The best way to avoid this is either to saw the pieces out of a larger sheet or to cut them with a sharp precision shear such as the Profiform.
I used to roll the pieces lightly through the mill to flatten this burr, but because the leading and trailing edge receive slightly more pressure than the rest of the piece, these may become beveled and ruin the consistent thickness of the sheet. Consequently, you will have a very small but critical gap around the edges of your billet between all the layers of metal. You may use the rolling mill to create long flat strips equal in width to the size of your intended billet. Then remove about 1/4-inch of the leading and trailing edges and cut the strip into pieces of the proper length. Don’t worry if rolling the strips through the mill causes some slight rippling of the sheets. This will straighten out easily later on when they are crushed between the torque plates. Having said all of this, I highly recommend that, whenever possible, you purchase metal precut from a good refiner. They generally have high-quality cutting equipment, and if given precise instructions, can provide you with sheet material that requires no further flattening.
Cleaning the Metal
This is the easiest and yet one of the most critical stages in producing mokume gane. Industrial cleaning methods utilizing potent solvents and acids do not readily lend themselves to studio applications. It is therefore necessary to give the metal a thorough cleaning by conventional means. After you have selected and cut the metal for your billet, use a ScotchBrite pad with dishwashing liquid and clean water to scrub the metal. If you have any questions about the quality of your tap water, use distilled water. Too many chemicals or rusty pipes can cause problems with contaminants between the layers.
After a thorough scouring with soap and ScotchBrite pad, I repeat the process with a glass fiber brush (available from enamel or ceramic suppliers), making sure the surface is evenly scratched and completely clean. I do not recommend using sandpaper on metal that has already been cut to size because it tends to remove metal unevenly from the surfaces of the sheets. If you create a bevel along the edge of the sheet, later when you stack them, these will form tiny gaps along the edge of the billet where the full surface of the sheets do not make contact. If the billet is fired like this, the layers will not bond properly.
Powdered pumice is also a very effective cleaner. Use a liberal amount of it with a little dishwashing soap and enough water to make a paste, and scrub with an old toothbrush. Be extremely careful that ALL of the pumice is rinsed off after cleaning, as even the slightest traces remaining on the metal layers will cause blisters or delamination in the finished mokume sheet.
After scrubbing, be careful to only touch the edges of the metal. Then rinse them thoroughly, making sure the water flows off the metal in one unbroken film. I have the rather nasty habit of licking the metal at this point. It is one left over from my enameling days and serves several purposes. It breaks the surface tension of the water as it flows in one clean film over the metal which helps you tell if it’s really clean, and it’s also an excellent way of finding out if you’ve missed rinsing away any soap, pumice or glass fibers. One tip before trying this procedure: always do your metal cleaning prior to having that peanut butter and jelly sandwich for lunch. Then, rinse thoroughly and dry with a clean, lint-free cotton cloth. Do not touch the surfaces of the metal again. Stack in order on clean, dry cloth or paper.
Note: Improper or incomplete metal cleaning is the leading cause of billet failure.
NEW LAYERS — WHAT WE’VE LEARNED SINCE
When it comes to putting together a mokume billet, cleanliness is next to Godliness. You cannot have the metal too clean and you must take every precaution after you meticulously clean it that it not be contaminated. When I prepare billet metal, I now wear clean nitrile gloves and use distilled water for washing and rinsing. I suggest using an industrial detergent solution with no perfumes or other conditioners. I no longer recommend using pumice because Scotchbrite abrasive pads are so much better and easier to use. Arrange the cut metal in the order of the way it will be stacked, and then start cleaning. Place the metal facedown on a clean Scotchbrite pad of about the same size that has been soaked with a water/detergent solution. Scrub both sides with another piece in your hand then double rinse. I do not wash the metal on a piece of wood or metal for fear of contamination. The last step is to dip in an ultrasonic cleaner tank of warm distilled water. This will vibrate off any abrasive lodged in the surface of the metal. Use a lint free cloth (I like linen) to dry the metal completely and then stack in order on a clean sheet of paper. Do not touch the metal surfaces again unless you have clean gloves on, or touch only the edges of the sheet until it is secured in your clamp/torque plates. I know this process will seem picky to some, but treating the metal this way will eliminate the possibility of failure due to contaminants between the layers.
Lastly, I regret to inform my past students that I no longer lick the metal as part of the cleaning process before the final rinse (as enamelists do) when preparing it. The billets I was working with just got too big and using the cleaning routine outlined above it seemed to work just as well. My apologies to all who have been doing this for years on account of my recommendation. Hopefully it has at least provided an opportunity to feel more intimate with your work. :-)
FROM THE BOOK’S GALLERY
©2000-2019 STEVEN JACOB INC. All rights reserved. Copyrighted materials – no portion to be reproduced without written permission from STEVEN JACOB INC.

